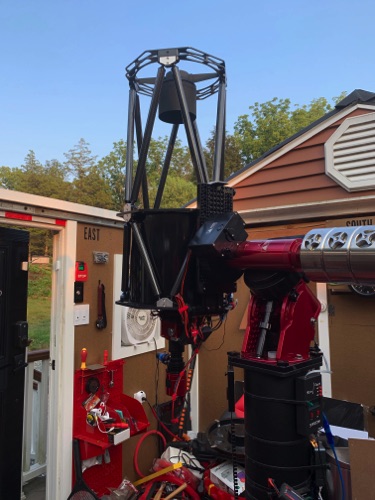
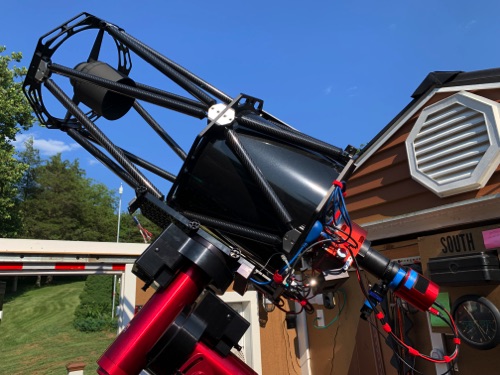
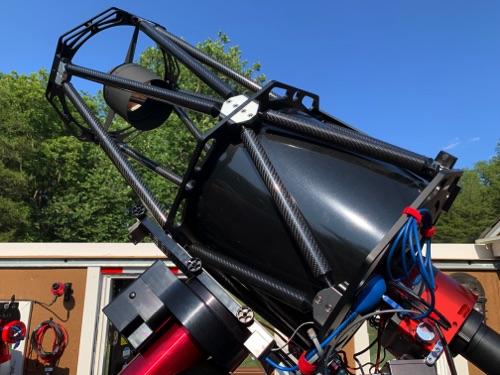
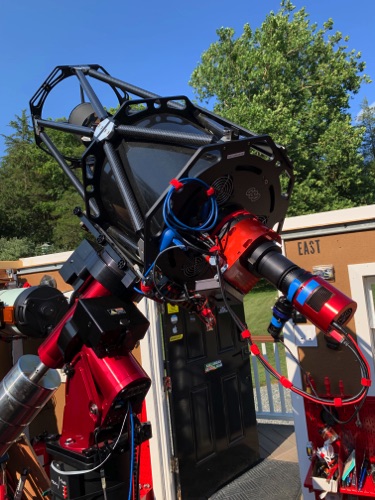
This is what I did to collimate my 14” GSO RC telescope.
First, you need a couple of tools, two in particular.
Hotech 2" SCA Dot Laser Collimator
Howie Glatter (HG) Laser Collimator
Most of the problem with these adjustments is caused by having to use a slip joint with the laser collimation tools. If they threaded on, it would be much more precise.
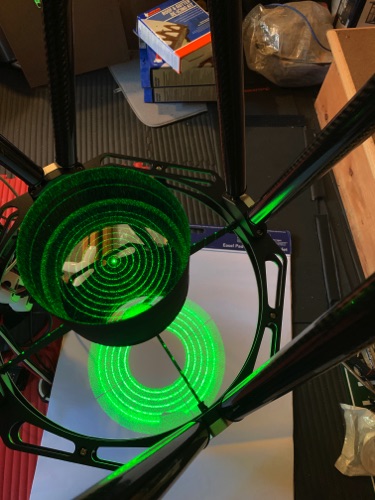
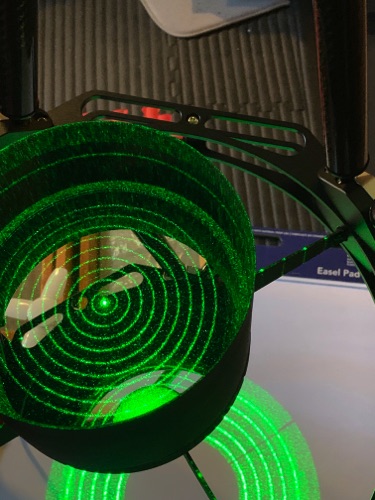
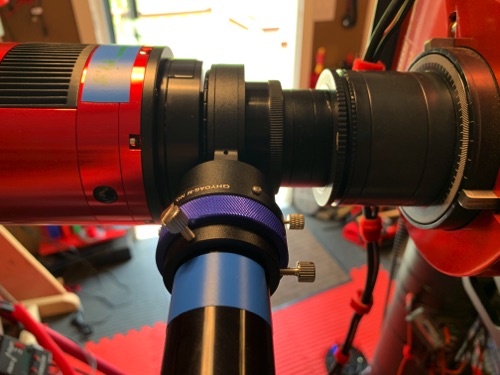
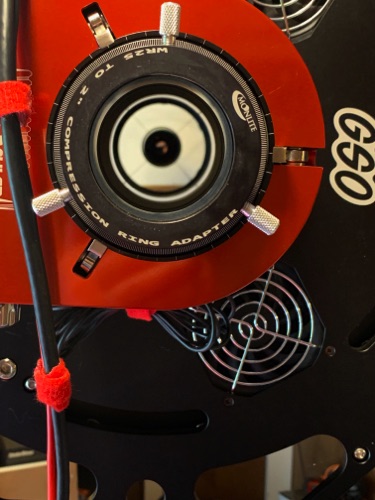
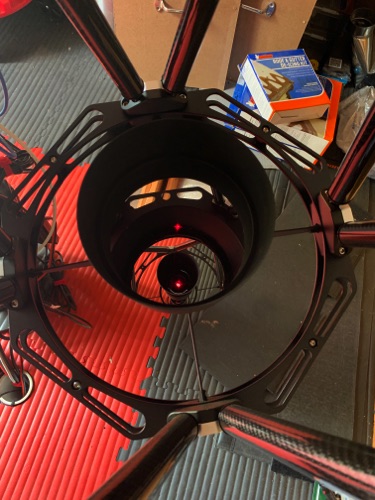
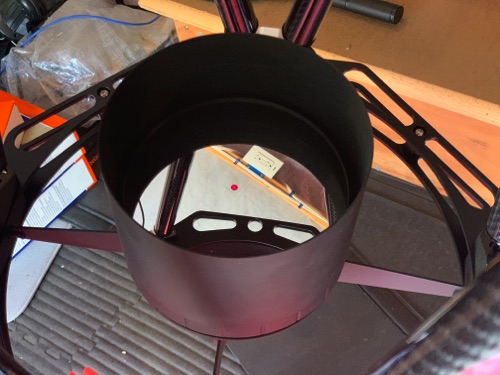
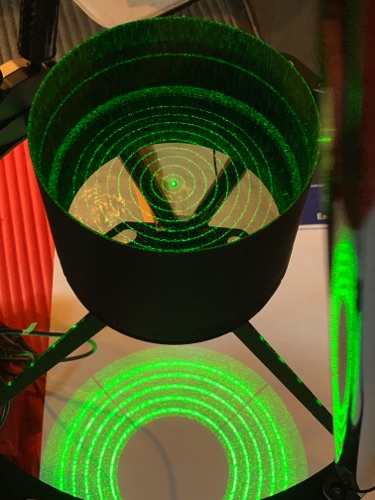
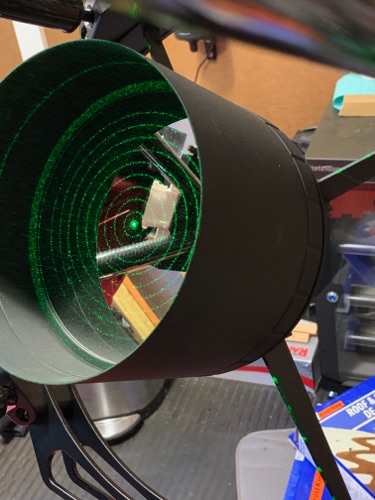
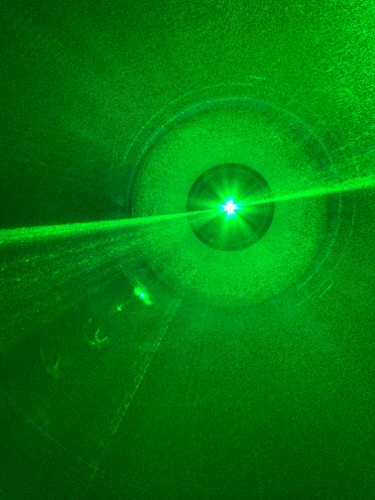
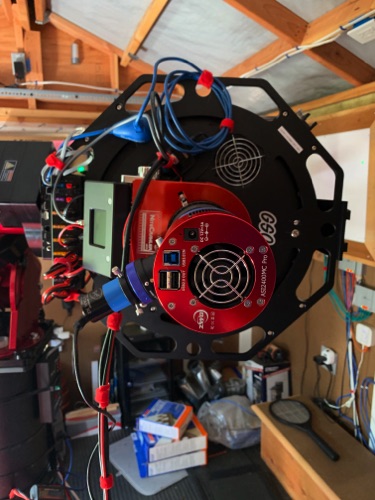
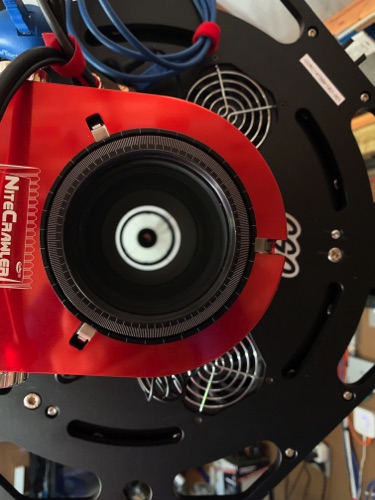
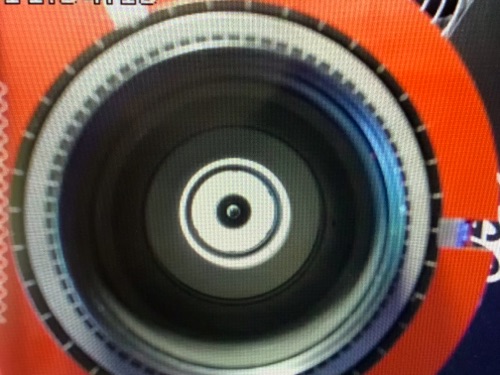
To start, I point my scope straight down and remove as much of the image train as I can, leaving the moonlight focuser and using a 2” slip connection that came with the focuser. I can drop in a HG laser and ideally the laser will be centered in the circle on the center of the secondary mirror. This is the subjective part of this procedure. I can drop in the HG multiple times and it will project to a slightly different spot on the secondary. If this were threaded it wouldn't do that. Since it is a slip jointed connection and the HG has a bevel to help center it, the slip joint is adjusted to having the thumb screws barely tightened. Dropping it in 10 times in a row gives you a good idea of the average spot it lands in. Going with that, the average spot, I adjust the focuser collimation screws to center the laser on the circle in the secondary mirror. That is the first of 3 adjustments. Also the toughest one because if you pick the wrong starting spot and make all 3 adjustments off that you will still be a little off.
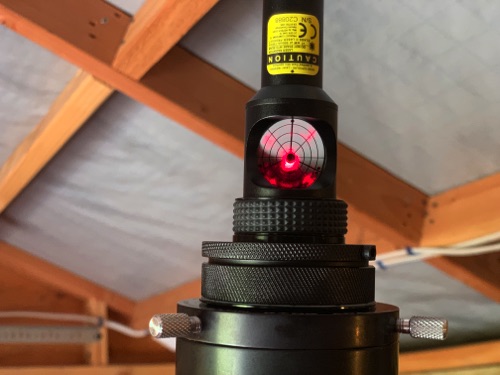
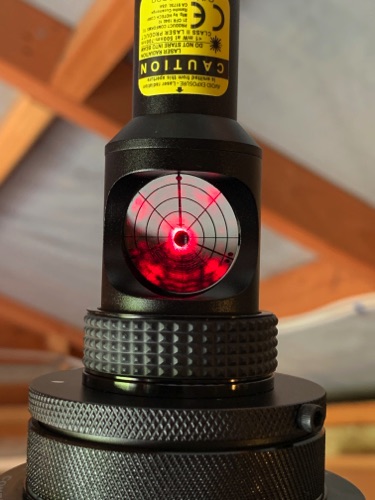
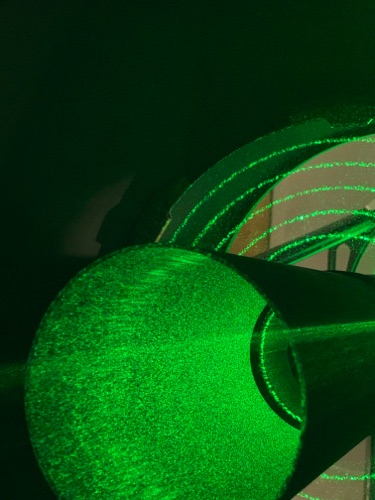
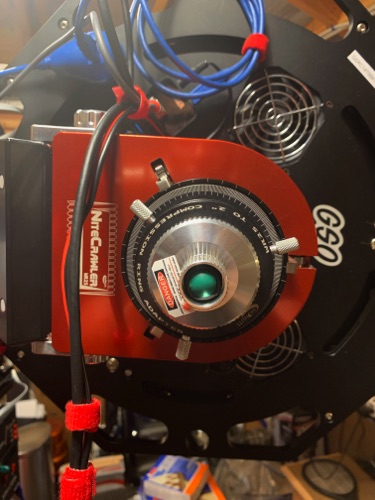
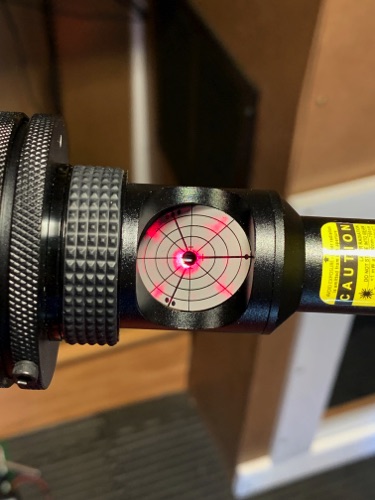
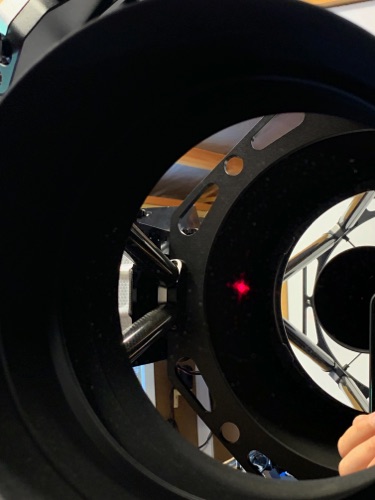
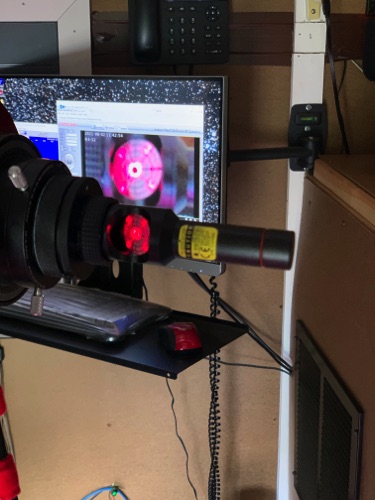
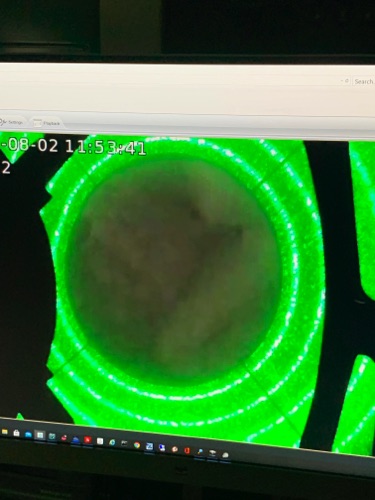
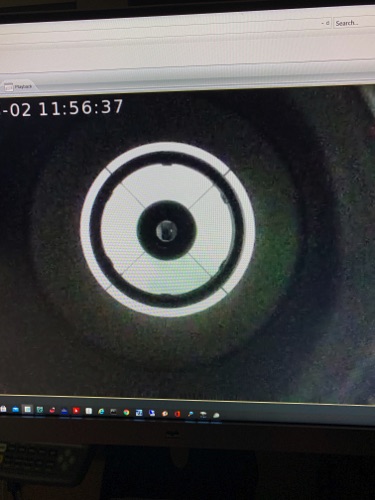
Adjustment 2 is adjusting the secondary so that the return beam hits the center of a target on the projecting laser. This aligns the focuser and the secondary together. To do this, I remove my HG and install a 2” Hotech laser collimator. That has a good return target so it helps a lot to use this for this adjustment. You can see pics below of not perfect and perfect with the red laser on the target of the Hotech. You adjust the secondary mirror by adjusting the 3 screws on its back. Don't touch the center screw on the secondary. I even used one of my Foscam IP cameras to zoom in so I could see it on my computer monitor since I don't have long enough arms to adjust the secondary and see the return beam at the same time. This actually helped a lot. A second person would make this much easier too. Once the return beam is dead center of the target, the second adjustment is complete and the focuser and the secondary are co-planer.
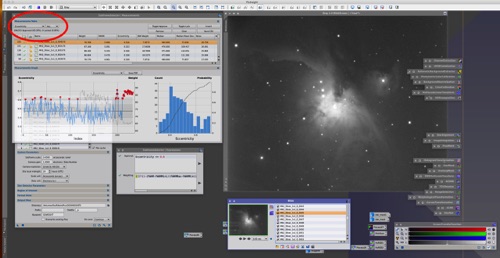
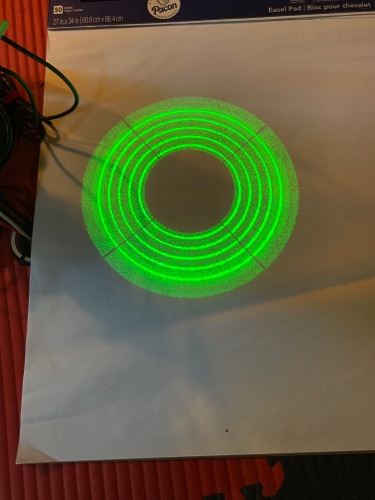
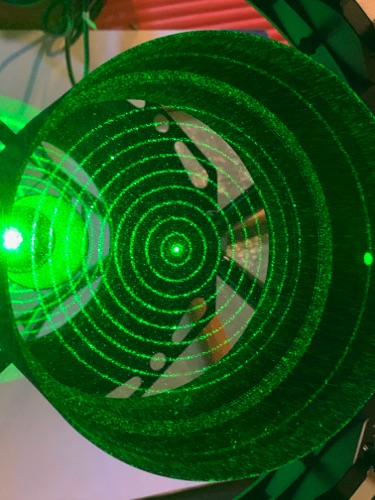
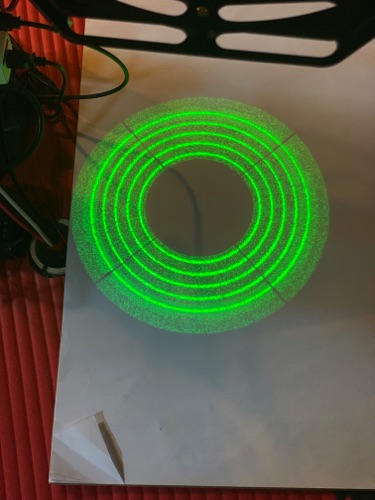
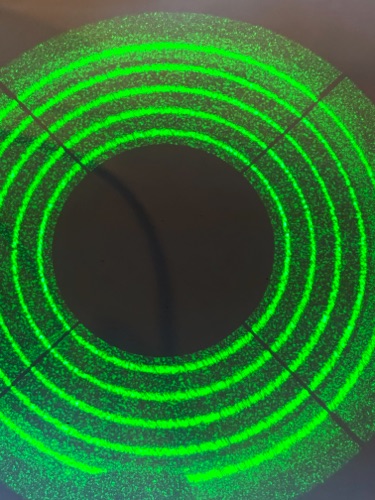
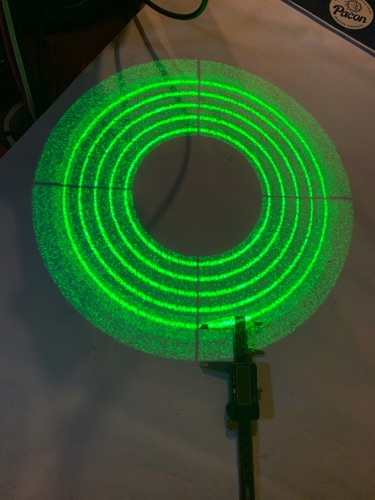
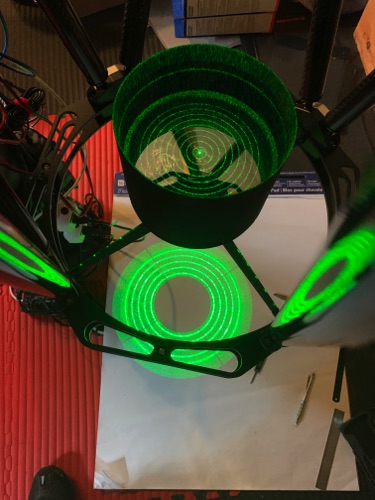
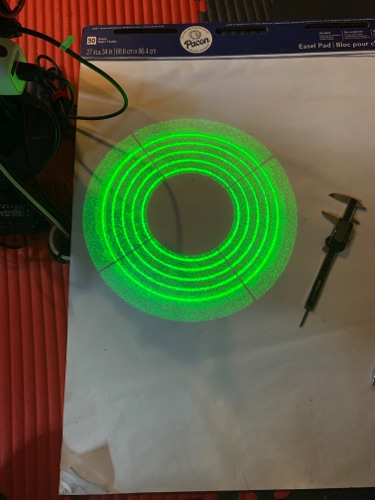
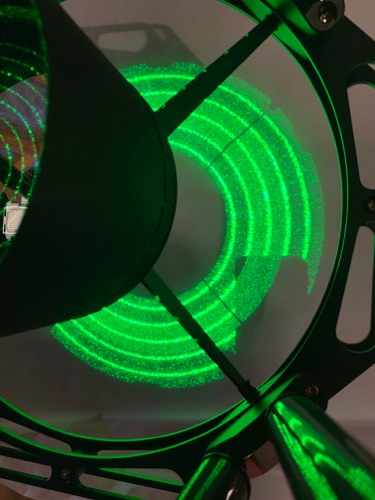
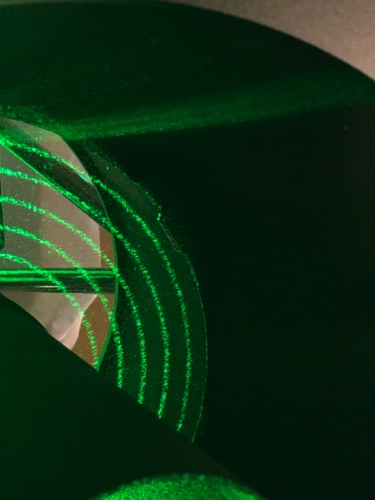
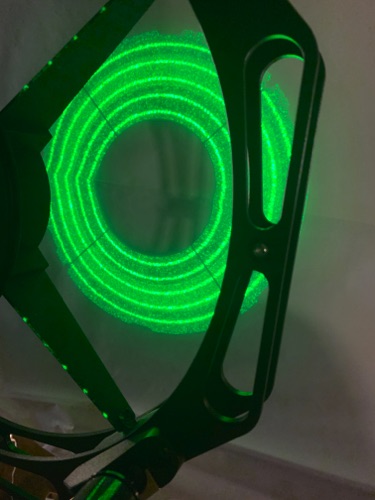
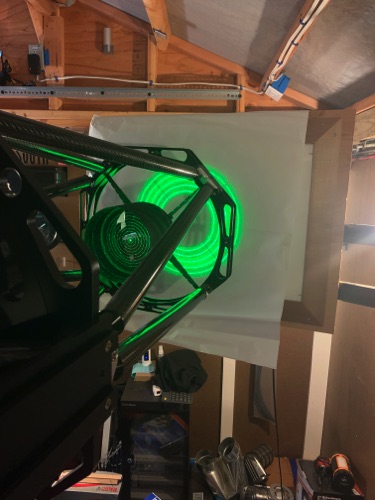
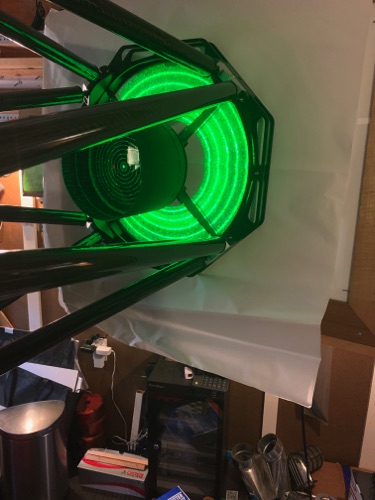
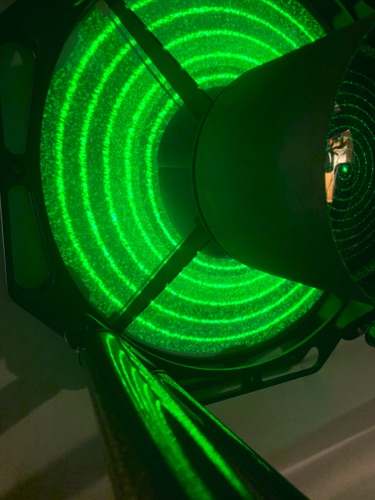
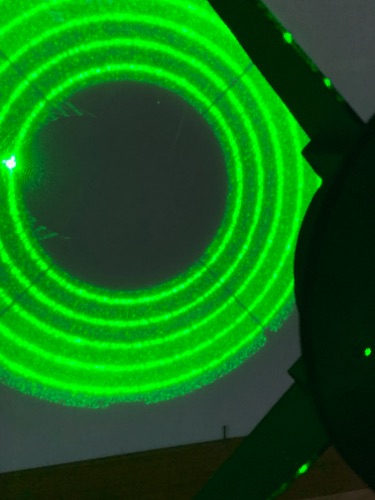
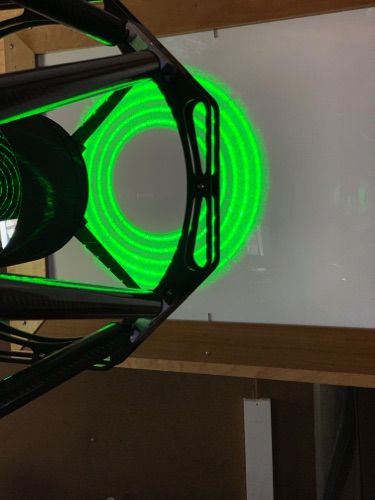
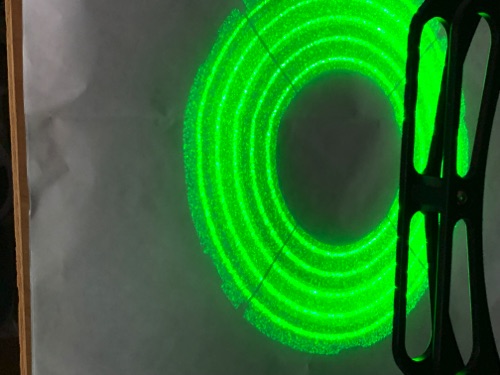
For the third and final adjustment, the primary mirror, I swap out the Hotech and put the green HG back with the concentric circle holographic attachment. I make sure that when I put in the HG that the center of the beam hits the circle on the secondary and I spin or apply slight pressure to the HG until it is hitting the center of the circle. Now you look at the projected circles on the floor. In my case I turned out the lights and put a piece of white poster board down to see it better. What you see is a dark circle which is a shadow caused from the secondary mirror. If you look at the green circle projects, one of them is the initial and the others are after adjustment. Look at where the shadow meets the green circles. The spacing can be adjusted by moving the primary mirror with its 3 adjustment screws. This adjustment becomes easy to “eye-ball” since the green lines are too fuzzy to measure off of. You just want everything as concentric as possible. That's it. The last shot show results from last night, 83% with ECC < .6. This is a significant improvement, and overall this process of making these 3 adjustments took me about 1-1/2 hours. I will also add that I have had this telescope for over 7 months and been struggling with round stars the whole time. I have tried to collimate this scope with less success a couple of times before.
Update Aug 4, 2021
Since last winter, my stars have become consistently oval. I've attempted collimating this beast again after re-watching all the youtube videos i could find about this. The last bunch of pics i added below are all from this attempt, i think i collimated that scope 4 different times on different days last week and over the weekend. Friday i had super results, 92% < .55 ECC, i was able to use this data to make 1/2 way decent pics, at least the stars were not a distration as they have been in the past! I've learned that there are multiple factors that can impede optimal results. Besides collimation, focus is critical to round stars. SGP has an OK focus routine which is why i plan to move this mount to use Voyager instead, it has better focus routines!
Update November 15, 2021:
See latest pics using Hotech Advanced CT Collimator at the top.
We brought the RC into the house and removed the secondary mirror after aligning the collimator with the scope. We made adjustments to the focuser and got that aligned to the collimator. Then put the secondary back and aligned that to the collimator and then finally we aligned the primary to the collimator. At the end, the return dots looked about the same as when I started, maybe a little better, but that was not a surprise, I knew I was real close. Testing on the mount over the couple of clear nights we have had showed an improvement, in fact, I think it's as close to perfect as it's ever been. My stars are generally round across the field and my ECC measurements are really good.
